
What Is Radon Gas and Why High Levels Are a Serious Home Concern
Radon is a naturally occurring radioactive gas that forms when uranium in soil, rock, and water breaks down over time. It is colorless, odorless, and tasteless, which means most homeowners have no idea it’s present unless they actively test for it. Radon gas moves up from the ground and can seep into homes through foundation cracks, basement floors, crawl spaces, construction joints, and gaps around pipes.
What makes radon especially concerning is that it can accumulate indoors, particularly in basements and lower levels where ventilation is limited. Even well-built and newly constructed homes are not immune. Factors such as soil composition, home design, weather conditions, and air pressure differences can all influence radon levels inside a house.
High radon levels are a serious issue because long-term exposure is linked to significant health risks. According to health authorities, radon is one of the leading causes of lung cancer among non-smokers. The risk increases when radon is trapped indoors and inhaled over months or years, making indoor air quality a critical part of overall home safety.
For homeowners, the good news is that radon problems are manageable. Understanding what radon is and how it enters your home is the first step toward applying smart DIY tips to reduce radon levels without major renovations. With proper testing, airflow improvements, and basic sealing techniques, many homes can significantly lower radon concentration using practical, budget-friendly solutions.
Why Reducing Radon Levels Is Essential for a Healthier Home
Reducing radon levels is not just a home improvement task—it’s a health protection measure. Long-term exposure to elevated radon gas is scientifically linked to serious respiratory issues, most notably lung cancer. In fact, radon is recognized as one of the leading causes of lung cancer in non-smokers, making it a hidden but significant indoor air hazard.
The danger lies in prolonged exposure. When radon gas builds up inside a home, it breaks down into radioactive particles that can be inhaled. These particles can damage lung tissue over time, increasing health risks for everyone in the household, including children, elderly family members, and pets. Homes with poor ventilation, sealed basements, or crawl spaces are especially vulnerable.
Beyond cancer risks, high radon levels also contribute to poor indoor air quality, which can worsen breathing discomfort, fatigue, and overall well-being. A healthy home is not only about comfort and aesthetics it’s also about ensuring the air you breathe every day is safe. The CDC radon health risks and testing advice explains how radon exposure increases lung cancer risk, reinforcing the importance of testing.
The good news is that lowering radon levels does not always require expensive or invasive construction work. By applying smart DIY tips to reduce radon levels without major renovations, homeowners can significantly improve indoor air quality while creating a safer living environment. Simple actions such as improving ventilation, sealing entry points, and managing airflow can make a noticeable difference.
Taking steps to reduce radon today helps protect your family’s health in the long run and adds value to your home by addressing an often-overlooked safety concern.
How to Test Radon Levels in Your Home Before Starting DIY Fixes
Before applying any DIY tips to reduce radon levels, it’s essential to test your home first. Radon cannot be seen or smelled, so testing is the only reliable way to know whether your home has elevated radon levels and how serious the issue is.
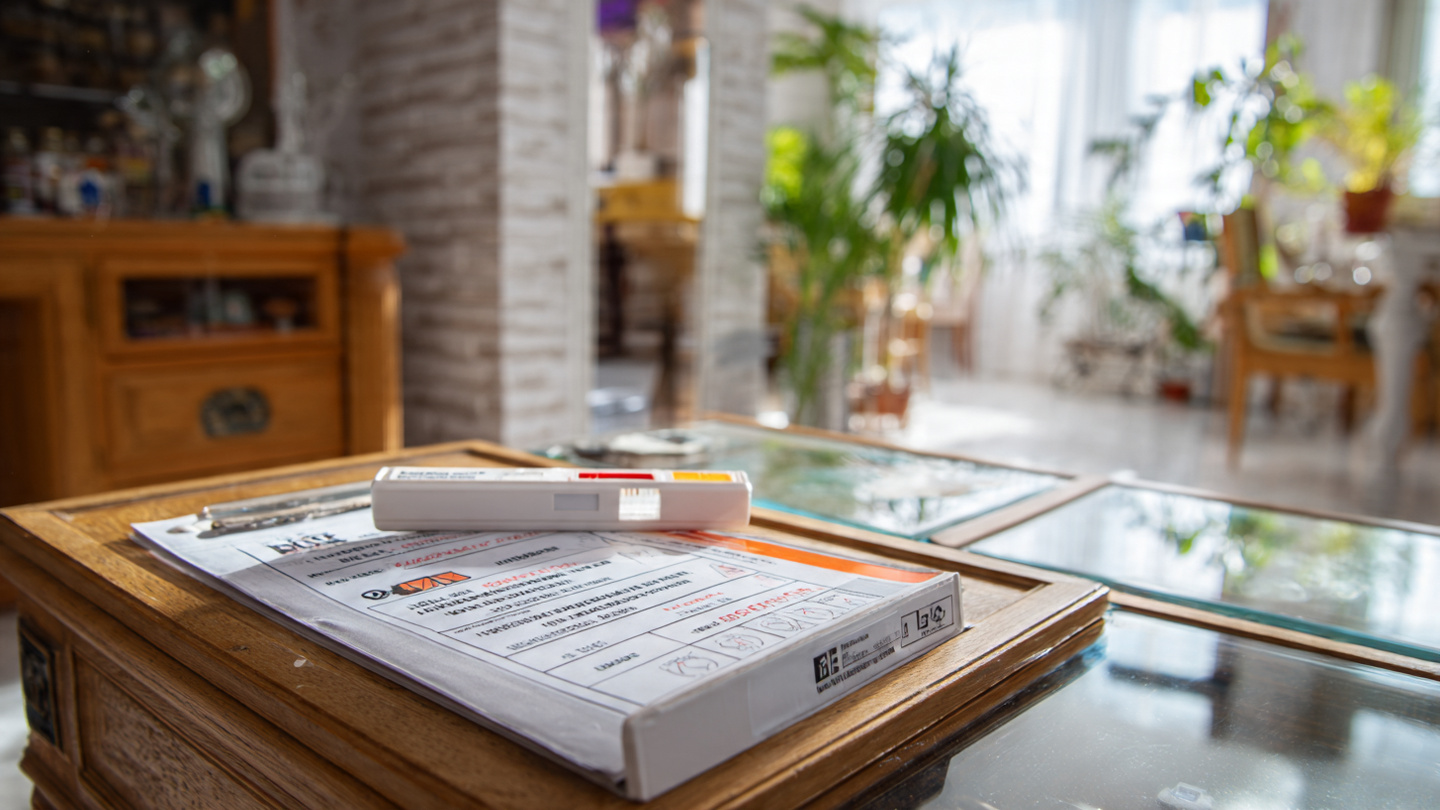
Radon testing is simple, affordable, and beginner-friendly. Most homeowners start with DIY radon test kits, which are widely available and easy to use. These kits measure radon concentration in picocuries per liter (pCi/L) and help determine whether action is needed.
For accurate results, place the test kit in the lowest livable area of your home, such as a basement or ground-floor room. Avoid kitchens, bathrooms, and areas near windows or vents, as airflow can affect readings. During the testing period, keep windows and doors closed as much as possible to reflect normal living conditions.
Testing before starting DIY fixes allows you to:
- Confirm whether radon is actually a problem
- Identify how severe the radon levels are
- Measure improvement after applying DIY solutions
Without proper testing, homeowners may spend time and money on fixes that don’t address the real issue. Establishing a baseline radon level ensures your DIY efforts are targeted and effective.
Short-Term vs Long-Term Radon Testing — Which One Should You Use?
Short-term radon tests typically last from 2 to 7 days and provide quick results. They are ideal for homeowners who want a fast assessment or are planning immediate improvements. However, radon levels can fluctuate due to weather, ventilation, and seasonal changes.
Long-term radon tests, on the other hand, run for 90 days or more and give a more accurate picture of average radon exposure over time. These tests are especially useful for confirming results or evaluating long-term safety after applying DIY radon reduction methods.
For best results, many homeowners start with a short-term test and follow up with a long-term test after making improvements.
What Is a Safe Radon Level According to Experts?
Health and environmental authorities recommend taking action if indoor radon levels reach 4.0 pCi/L or higher. Levels between 2.0 and 4.0 pCi/L are considered moderate, but reducing them is still strongly encouraged to minimize long-term health risks.
Ideally, radon levels should be kept as low as reasonably possible. Even small reductions can significantly improve indoor air quality and reduce health risks over time. This is where smart DIY radon reduction tips can make a meaningful difference without major renovations.
Smart DIY Tips to Reduce Radon Levels Without Major Renovations
Reducing radon levels doesn’t always require tearing up floors or installing complex systems. Many homeowners can lower radon concentrations using smart, low-impact DIY improvements that focus on sealing entry points, improving airflow, and managing indoor air pressure. These methods are especially effective for homes with moderate radon levels and limited budgets.
Below are practical, renovation-free strategies you can apply using basic tools and materials.
Seal Foundation Cracks and Gaps to Limit Radon Entry
One of the most effective DIY radon reduction steps is sealing the pathways radon uses to enter your home. Radon gas typically seeps in through cracks in concrete floors, foundation walls, construction joints, and gaps around utility pipes.
Use high-quality caulk or polyurethane sealant to seal visible cracks and small openings. Pay close attention to basement floors, wall joints, sump pit covers, and areas where plumbing or wiring enters the home. While sealing alone won’t eliminate radon entirely, it can significantly reduce the amount of gas entering indoor spaces.
Improve Basement and Crawl Space Sealing
Basements and crawl spaces are common radon entry zones due to direct contact with the soil. Improving sealing in these areas can help prevent radon buildup.
For crawl spaces, installing a vapor barrier over exposed soil can reduce radon infiltration. In basements, sealing expansion joints and ensuring sump pits are tightly covered helps minimize gas entry. These improvements also offer added benefits such as better moisture control and energy efficiency.
Improve Home Ventilation to Lower Radon Concentration
Ventilation plays a key role in reducing indoor radon levels. Increasing fresh air circulation helps dilute radon gas and prevent it from accumulating.
Simple DIY options include:
- Opening basement windows periodically
- Using window or exhaust fans to pull air outside
- Improving natural airflow between rooms
Even small ventilation improvements can lower radon concentration, especially when combined with sealing efforts.
Use Window Venting and Air Circulation Strategically
Strategic window venting can help manage radon levels, particularly in mild weather. Opening windows in lower-level rooms while encouraging air movement toward upper floors creates a natural ventilation path that helps push radon out.
Using portable fans to direct airflow toward open windows or vents improves effectiveness. This method works best as a short-term or seasonal solution and is ideal for homeowners seeking immediate, low-cost radon reduction.
Install DIY Exhaust Fans in Basements and Crawl Spaces
Installing a basic exhaust fan in a basement or crawl space can help remove radon-laden air from lower levels. These fans create negative pressure, encouraging radon gas to exit the home instead of accumulating indoors.
DIY-friendly exhaust fans are relatively inexpensive and can be installed without major structural changes. When used consistently, they can help maintain lower radon levels and improve overall indoor air quality.
Balance Indoor Air Pressure to Prevent Radon Buildup
Radon enters homes more easily when indoor air pressure is lower than the pressure in the surrounding soil. Activities such as running exhaust fans, clothes dryers, or fireplaces can worsen this pressure imbalance.
To reduce this effect:
- Avoid overusing exhaust systems
- Improve air circulation throughout the home
- Ensure HVAC systems are properly balanced
Maintaining balanced indoor air pressure helps limit radon intrusion and supports long-term radon control.
Affordable DIY Radon Reduction Methods That Actually Work
Reducing radon levels doesn’t have to be expensive. Many effective DIY radon reduction methods focus on small, affordable improvements that work together to lower indoor radon concentration over time. When applied consistently, these budget-friendly solutions can deliver real results without professional installation.
One of the most cost-effective approaches is combining multiple low-impact methods rather than relying on a single fix. Sealing entry points, improving airflow, and managing moisture all contribute to a healthier indoor environment and help prevent radon buildup.
Using caulking and sealants to close foundation cracks is inexpensive and widely accessible. These materials are easy to apply and can immediately reduce the amount of radon entering your home. Pairing sealing efforts with basic ventilation improvements, such as portable fans or window exhaust units, further enhances their effectiveness.
Another affordable option is improving crawl space coverage. Installing a simple vapor barrier over exposed soil helps block radon gas while also controlling moisture levels. This not only supports radon reduction but also improves overall home comfort and energy efficiency.
Regular air circulation maintenance is another low-cost habit that makes a difference. Keeping air moving through lower levels of the home helps dilute radon gas and prevents it from settling in enclosed areas. This approach is especially helpful in basements that are rarely used but still contribute to whole-house air quality.
For homeowners looking to track progress without spending much, periodic radon retesting ensures that DIY methods are working. Testing allows you to make adjustments as needed and confirms whether additional steps are required.
By focusing on practical, affordable DIY solutions, homeowners can reduce radon levels gradually while maintaining control over costs. These methods are ideal for those who want safer indoor air without committing to major renovations or expensive systems.
Common DIY Mistakes That Can Keep Radon Levels High
While DIY radon reduction methods can be effective, certain mistakes can limit their impact or even worsen the problem. Understanding what not to do is just as important as knowing which steps to take. Avoiding these common errors helps ensure your efforts actually lower radon levels instead of providing a false sense of security.
One frequent mistake is relying on sealing alone. While sealing cracks and gaps is an important step, it cannot completely stop radon gas from entering a home. Radon comes from the soil beneath the house, and pressure differences will still draw it indoors. Sealing should always be combined with ventilation or airflow improvements for meaningful results.
Another common issue is improper or inconsistent ventilation. Opening windows occasionally may help in the short term, but it’s not a reliable long-term solution. Ventilation strategies must be consistent and strategically placed, especially in basements and crawl spaces where radon levels are typically higher.
Some homeowners also make the mistake of placing radon test kits incorrectly. Testing near windows, vents, or high-traffic areas can lead to inaccurate readings. Without accurate data, it becomes difficult to know whether DIY fixes are working or if radon levels remain unsafe.
Ignoring seasonal changes is another oversight. Radon levels often rise during colder months when homes are sealed tightly and ventilation is reduced. DIY solutions that seem effective in summer may not perform as well in winter, making follow-up testing essential.
Finally, many homeowners delay action because radon is invisible and odorless. Waiting too long to retest or improve mitigation efforts can allow high radon levels to persist unnoticed. Consistent monitoring and timely adjustments are key to keeping indoor air safe.
By avoiding these common DIY mistakes, homeowners can make smarter decisions and ensure their radon reduction efforts are both effective and sustainable.
When to Consider Professional Radon Mitigation Services
While many DIY tips can help reduce radon levels, there are situations where professional radon mitigation becomes necessary. Knowing when DIY solutions are no longer enough protects both your health and your home.
If radon test results remain at or above 4.0 pCi/L even after applying multiple DIY methods, it’s a strong sign that the problem requires more advanced intervention. Professional systems are designed to actively redirect radon gas away from the home using specialized equipment that DIY solutions cannot replicate.
Homes with very high radon levels, complex foundations, or extensive crawl spaces often need professional attention. Structural factors such as slab foundations, sump systems, or poor subfloor airflow can make DIY approaches less effective.
Another key indicator is inconsistent test results. If radon levels fluctuate significantly across seasons or rooms, a professional assessment can identify hidden entry points or pressure issues that are difficult to diagnose without experience and tools.
Professional mitigation may also be the best choice for:
- Homes with finished basements used daily
- Families with young children or high-risk individuals
- Homeowners planning to sell and needing documented radon reduction
Certified radon professionals install systems such as sub-slab depressurization, which actively pulls radon from beneath the home and vents it safely outside. While this involves more cost than DIY methods, it offers long-term reliability and peace of mind.
DIY efforts are still valuable, even when professional mitigation is required. Sealing and ventilation improvements can enhance the effectiveness of professional systems and help maintain lower radon levels over time.
How to Maintain Low Radon Levels After DIY Improvements
Reducing radon levels is just the first step; maintaining a radon-safe home requires ongoing care and simple habits. Consistent monitoring, proper ventilation, and preventive measures help ensure your DIY improvements remain effective over the long term.
1️⃣ Retest Regularly
Even after lowering radon levels, periodic testing is essential. Seasonal changes, home renovations, or structural shifts can cause radon levels to rise again. Experts recommend testing at least every two years or after any significant home modifications.
2️⃣ Keep Ventilation Consistent
Maintaining good airflow is key to preventing radon buildup. Ensure that basement fans, vents, and windows are used strategically, especially in areas prone to higher radon concentration. Avoid blocking airflow pathways with furniture or storage items.
3️⃣ Monitor Cracks and Gaps
Over time, new cracks or gaps may appear in the foundation or around pipes. Regularly inspect basements, crawl spaces, and utility areas for openings and reseal them promptly. Even small gaps can allow radon to re-enter your home.
4️⃣ Combine DIY and Preventive Measures
Simple preventive strategies like installing a vapor barrier in crawl spaces, keeping soil around the foundation properly graded, and managing moisture can complement previous DIY efforts. Combining multiple methods enhances long-term effectiveness.
5️⃣ Keep Family Safety in Mind
Educate household members about radon awareness. Encourage habits like keeping windows slightly open when weather allows and maintaining balanced HVAC systems to minimize radon accumulation.
By adopting these ongoing practices, homeowners can sustain lower radon levels, improve indoor air quality, and protect their families’ health without investing in costly renovations.
Home Improvement Projects That Also Improve Indoor Air Quality
Improving indoor air quality doesn’t just help reduce radon — it also creates a healthier, more comfortable living environment. Many home improvement projects can serve dual purposes: enhancing your home’s appearance while supporting better air quality and radon reduction.
1️⃣ Upgrade Ventilation Systems
Installing or upgrading HVAC systems with fresh-air intake can improve airflow and reduce radon concentration. Adding energy-efficient exhaust fans in basements, kitchens, or bathrooms also helps remove stale, radon-laden air.
2️⃣ Seal and Insulate Foundations
Sealing cracks and insulating foundations not only limits radon entry but also improves energy efficiency. Well-sealed homes prevent drafts, retain heat, and maintain consistent indoor air quality.
3️⃣ Install Vapor Barriers in Crawl Spaces
Vapor barriers are inexpensive yet effective at controlling moisture and radon infiltration. This project also helps prevent mold growth, another contributor to poor indoor air quality.
4️⃣ Improve Basement and Attic Airflow
Adding ventilation vents, floor fans, or air circulators can enhance overall airflow. Proper circulation ensures that radon and other indoor pollutants do not accumulate in enclosed areas like basements or attics.
5️⃣ Incorporate Indoor Plants Strategically
Certain indoor plants can help improve air quality by absorbing some pollutants and adding oxygen. While plants alone cannot eliminate radon, they contribute to a healthier environment when paired with DIY mitigation methods.
6️⃣ Regular Maintenance and Cleaning
Keeping your home clean, dust-free, and well-maintained complements all other air-quality measures. Regular inspections, HVAC filter replacements, and moisture control prevent indoor air deterioration, supporting long-term radon reduction efforts.
By combining these practical home improvements with smart DIY radon reduction strategies, homeowners can achieve a safer, fresher, and more inspiring living space without major renovations.
Frequently Asked Questions About DIY Radon Reduction
Adding a FAQ section helps answer common concerns, improves user engagement, and increases the chances of featured snippet placement on Google.
Can DIY Methods Permanently Reduce Radon Levels?
DIY methods like sealing foundation cracks, improving ventilation, and managing airflow can significantly lower radon levels, especially in homes with moderate concentrations. However, they may not completely eliminate radon, particularly in homes with high levels. Regular testing and combining multiple strategies help maintain long-term effectiveness.
How Long Does It Take to Lower Radon Levels?
The time to see results depends on the methods used and the home’s structure. Simple ventilation improvements may show results within days, while sealing cracks and installing fans can take a few weeks to noticeably reduce radon concentration. Continuous monitoring ensures results are sustained over time.
Is Radon More Common in Basements Than Upper Floors?
Yes. Basements and lower levels are the most common entry points for radon gas because they are closest to the soil where radon originates. Radon can migrate to upper floors, but concentrations are usually highest near the ground, making basements the primary focus for testing and DIY mitigation.
Do I Need Professional Help If My DIY Efforts Don’t Work?
If radon levels remain at or above 4.0 pCi/L after applying DIY solutions, it’s wise to consult a certified radon mitigation professional. Professionals can install advanced systems like sub-slab depressurization to safely remove radon and ensure long-term indoor air safety.
How Often Should I Retest My Home for Radon?
Even after improvements, retesting every two years is recommended. Retesting ensures that radon levels remain low and helps identify any new entry points caused by structural changes, renovations, or seasonal fluctuations.
Conclusion:
Radon is a hidden but serious threat that can affect any home, regardless of age or construction type. The good news is that smart DIY strategies—from sealing foundation cracks to improving ventilation—allow homeowners to significantly reduce radon levels without major renovations.
Testing your home first is essential. Knowing the baseline radon levels ensures that your efforts are targeted and effective. Combining multiple DIY methods, monitoring indoor air, and maintaining proper airflow all contribute to a safer, healthier living environment.
While DIY solutions work well for moderate radon levels, it’s important to recognize when professional help is necessary. Homes with high or persistent radon levels may require certified mitigation systems to ensure long-term safety.
Ultimately, creating a radon-safe home is not just about immediate improvements—it’s about ongoing awareness, preventive measures, and maintaining indoor air quality. By taking action today, homeowners protect their families, improve their living space, and gain peace of mind knowing they’ve addressed a critical, often-overlooked health risk.
Take small steps, stay consistent, and your home can become a safe, healthy, and inspiring environment—all without expensive renovations or complex construction.