Why Garage Door Spring Replacement Matters
A properly working garage door spring is the key to smooth and safe door operation. When a spring wears out or breaks, it can cause the door to become unbalanced, hard to open, or even dangerous. Replacing the spring on time not only protects your garage door system but also prevents costly damage to the opener and other components.
In this step-by-step guide, you’ll learn how to replace garage door springs like a professional technician, including safety tips, tools needed, and proper maintenance for long-lasting performance.
Identifying When Your Garage Door Springs Need Replacement
Before you grab your tools, it’s crucial to know when the garage door springs actually need replacing. Springs usually show clear signs of wear and failure — and spotting these early can prevent accidents and costly damage.
• Loud snapping or banging sounds
• The garage door feels heavy or uneven
• The door won’t stay open or close smoothly
• Visible gaps or rust on the springs
• The opener struggles to lift the door
Pro Tip: If your garage door suddenly slams shut or moves jerkily, do not force it open — this can damage the motor and tracks.
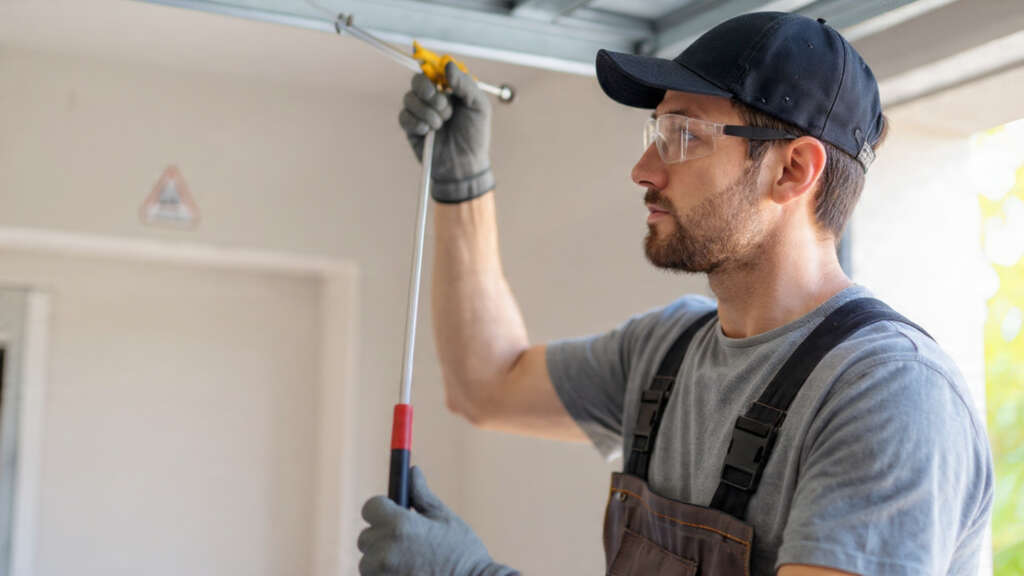
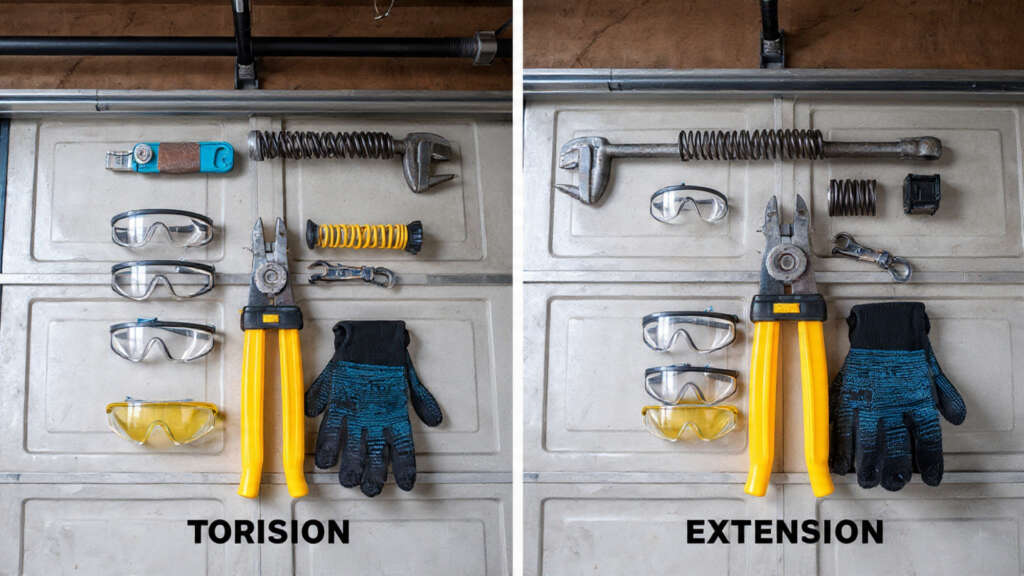
Tools and Safety Gear You’ll Need for the Job

Before starting any garage door spring replacement, it’s important to gather the right tools and protective gear. Working on a garage door involves high tension and potential risks — being well-prepared keeps the process safe and smooth.
Essential Tools:
• Winding bars
• Adjustable wrench
• Socket set
• Clamps or locking pliers
• Step ladder
• Tape measure
Safety Gear:
• Safety goggles
• Heavy-duty gloves
• Work boots with grip
• Helmet or hard hat (optional)
Pro Tip: Never use screwdrivers instead of winding bars — they can slip and cause serious injury.
Preparing the Garage Door Before Replacement
Preparation is one of the most critical steps in garage door spring replacement. A garage door under tension can be dangerous if not handled correctly. Properly securing the door and workspace ensures a smooth and safe replacement process.
1. Disconnect the garage door opener
2. Fully open the door
3. Clamp the tracks
4. Mark the current spring settings
5. Clear the workspace
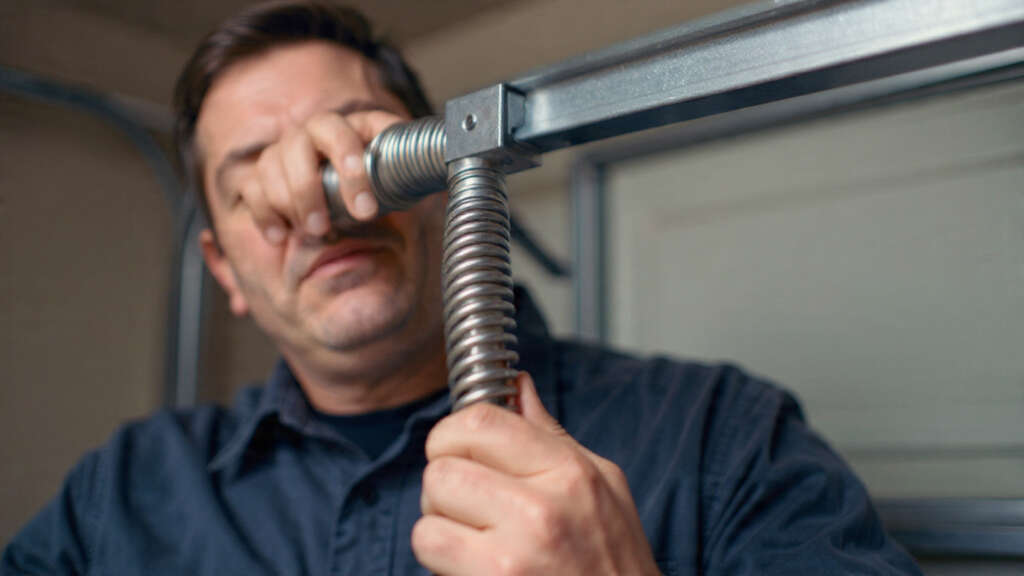
Removing the Old Garage Door Springs
Now that your garage door is fully secured and prepared, it’s time to remove the old springs carefully. This is one of the most delicate steps because the springs are under high tension — improper handling can lead to serious injury or damage.
1. Insert the winding bars
2. Loosen the set screws
3. Unwind the spring gradually
4. Disconnect the cables and drums
5. Slide off the old spring
Installing the New Garage Door Springs

Once the old springs are safely removed, it’s time to install the new garage door springs. This step requires precision — correct alignment and proper tension ensure smooth door operation and prevent future damage.
1. Slide the new spring onto the torsion bar
2. Reinstall the center bearing and stationary cone
3. Reattach the cable drums and cables
4. Tighten the set screws
5. Double-check alignment
Winding the New Springs Safely
Winding the springs is one of the most critical and dangerous steps in the entire garage door spring replacement process. Proper tensioning ensures your garage door opens and closes smoothly without straining the opener.
1. Insert the winding bars
2. Begin winding the spring
3. Count each turn carefully
4. Tighten the set screws
5. Repeat for the second spring (if applicable)
Reconnecting and Testing the Garage Door
Once your garage door springs are fully wound and secured, it’s time to reconnect the system and test its functionality. This step ensures the door operates smoothly, stays balanced, and that your hard work pays off with safe, quiet performance.
1. Remove the clamps from the tracks
2. Reconnect the garage door opener
3. Lift the door manually
4. Run an opener test cycle
5. Fine-tune if necessary
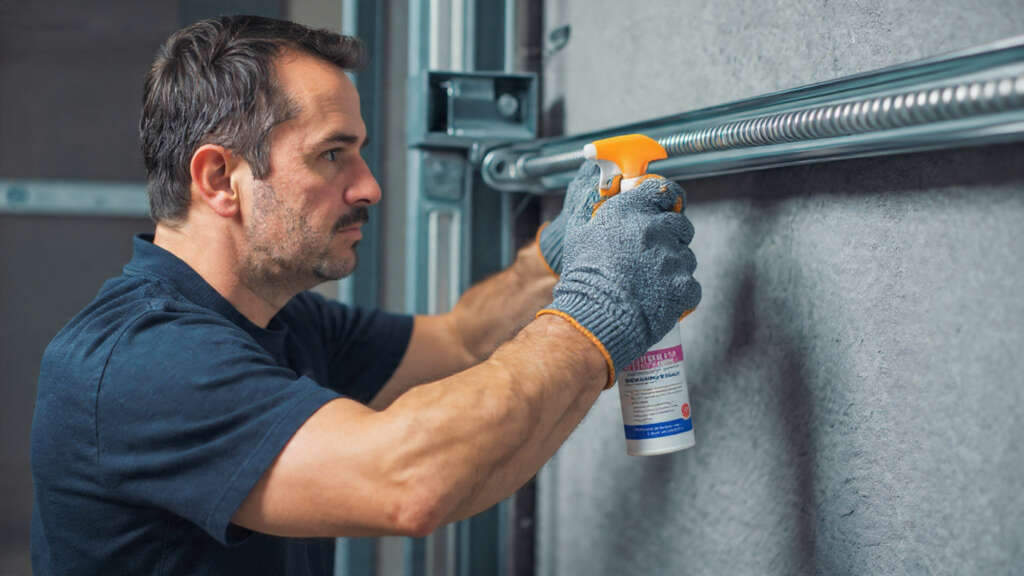
Maintenance Tips to Extend Spring Life

After replacing your garage door springs, regular maintenance is the key to making them last longer and keeping your door operating smoothly. With just a few simple care routines, you can reduce wear, prevent sudden failures, and save money on future repairs.
1. Lubricate the springs regularly
2. Inspect for wear and tear
3. Test the balance periodically
4. Keep the tracks clean and clear
5. Schedule annual professional inspections
Final Safety Reminders & Conclusion
Replacing garage door springs may seem intimidating at first, but with the right tools, step-by-step guidance, and safety precautions, it can be done effectively and safely. Remember — the torsion springs carry extreme tension, so every step should be taken carefully and deliberately.
Final Safety Tips:
• Always disconnect the opener before starting any work
• Use winding bars only, never improvised tools
• Wear protective gear including gloves, goggles, and boots
• Never rush — precision matters more than speed
• If unsure, call a professionalIn Conclusion:
Replacing your own garage door springs can save time and money, but it’s not a task to take lightly. With the right preparation, careful installation, and regular upkeep, your garage door will operate smoothly for years.