Physical Address
304 North Cardinal St.
Dorchester Center, MA 02124
Physical Address
304 North Cardinal St.
Dorchester Center, MA 02124
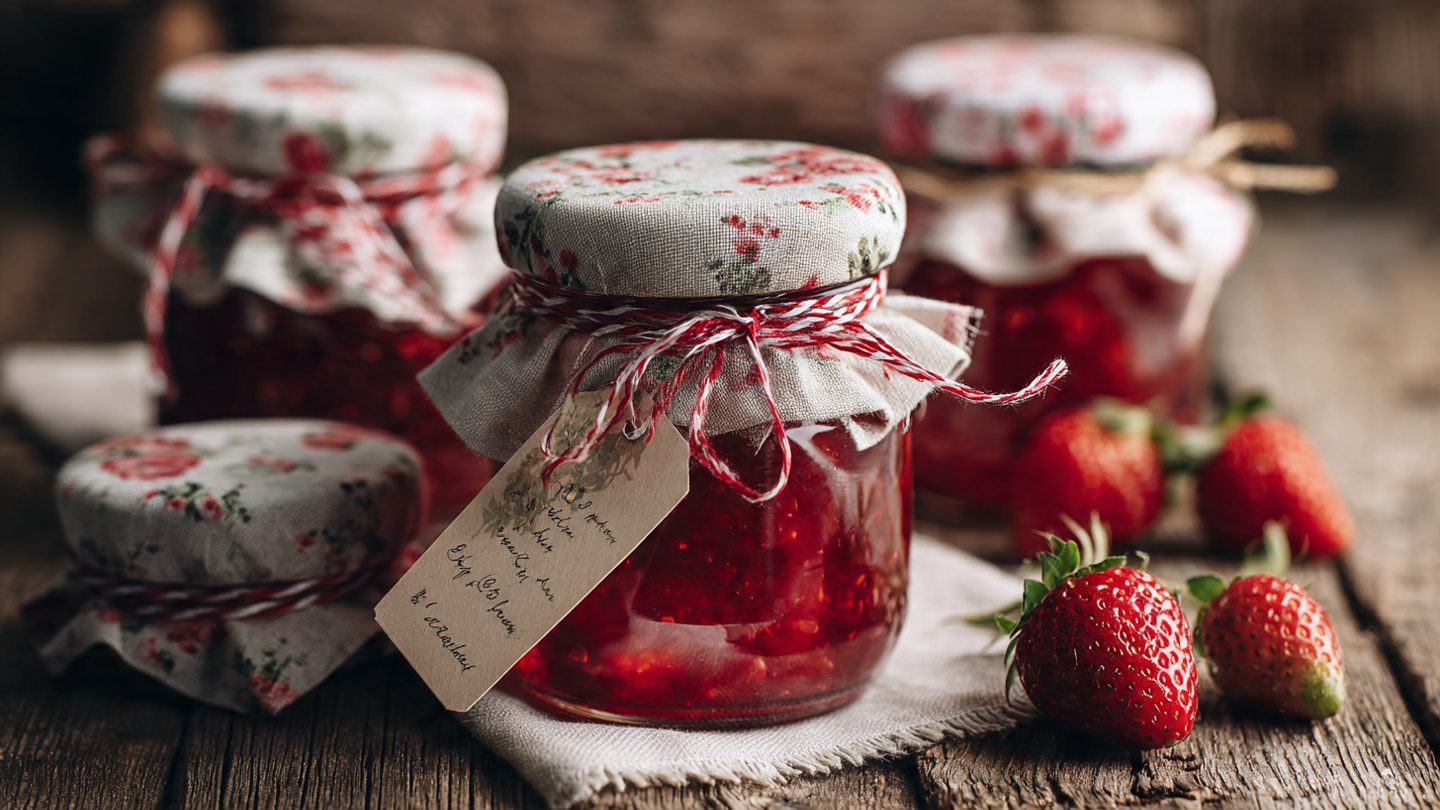
Strawberry jelly without pectin is a smooth, clear fruit spread made using fresh strawberries, sugar, and lemon juice , without adding commercial pectin powder. Instead of relying on store-bought thickening agents, this recipe uses the fruit’s natural pectin combined with proper cooking time to achieve the perfect gel-like consistency.
Unlike strawberry jam, which contains crushed fruit pulp, strawberry jelly is made from strained strawberry juice. This creates a glossy, transparent finish and a silky texture that spreads beautifully on toast, pastries, or desserts.
When making homemade strawberry jelly without pectin, the key is balance:
Many people prefer making strawberry jelly without added pectin because it:
This method may take slightly longer than recipes using commercial pectin, but the result is often more flavorful and naturally set.
Making strawberry jelly without pectin isn’t just about skipping an ingredient , it’s about creating a more natural, flavorful, and traditional fruit preserve. Many home cooks prefer this method because it allows the strawberries to shine while keeping the ingredient list simple and clean.
Here’s why this method is worth trying:
When you make homemade strawberry jelly without added pectin, you only need:
There are no commercial thickening agents or artificial stabilizers. The jelly sets naturally through the fruit’s own pectin and proper cooking technique.
Commercial pectin can sometimes slightly dilute the fruit’s intensity because it allows for shorter cooking times. When you make jelly without pectin, the longer simmering process concentrates the strawberry flavor, creating a deeper, sweeter, and slightly tangy taste.
The result is a bright, glossy strawberry jelly with a naturally balanced sweetness.
Pectin isn’t always available in every grocery store, and it adds extra cost. By skipping it, you:
This makes it perfect for beginner cooks or small-batch preserving.
Before commercial pectin became widely available, fruit preserves were made using natural methods. Preparing strawberry jelly without pectin connects you to classic preserving techniques , relying on temperature, acidity, and patience rather than shortcuts.
It feels more authentic and rewarding.
Without pectin, you control the thickness by monitoring:
This allows you to achieve your preferred consistency , whether slightly soft or firmly set.
One of the best things about making strawberry jelly without pectin is how incredibly simple the ingredient list is. You only need three basic components , no specialty products, no artificial thickeners, and no complicated additions.
Using high-quality ingredients is key because each one plays an important role in helping the jelly set naturally and taste vibrant.
Fresh, ripe strawberries are the foundation of this recipe. Since this is a jelly (not jam), you’ll be extracting the juice rather than using crushed fruit pulp.
For best results:
Ripe strawberries provide natural pectin, vibrant color, and that sweet-tart flavor that defines homemade strawberry jelly.
If strawberries are out of season, frozen strawberries can also work , just thaw them completely before use.
Sugar does more than just sweeten the jelly. It plays a critical structural role by:
The correct sugar-to-juice ratio is essential. Reducing sugar too much can prevent the jelly from reaching its proper setting point.
For best results, use regular white granulated sugar rather than substitutes when making strawberry jelly without pectin.
Lemon juice is the secret ingredient that makes this recipe work without added pectin.
It:
Freshly squeezed lemon juice is recommended over bottled varieties for better flavor and consistent acidity.
The combination of strawberries (natural pectin), sugar (structure), and lemon juice (acid activation) creates the perfect environment for a smooth, clear jelly to form , no commercial pectin required.
Simple ingredients. Traditional method. Perfect homemade results.
Making strawberry jelly without pectin requires patience and attention to temperature, but the process is simple when broken down into clear steps. The key is extracting pure strawberry juice and boiling it to the proper setting point so it thickens naturally.
Follow this detailed guide for consistent, foolproof results.
Start by washing the fresh strawberries thoroughly. Remove the stems and any bruised spots.
Place the strawberries in a large pot and gently crush them using a potato masher or wooden spoon. Crushing helps release the juice while maintaining flavor.
Avoid over-blending , this can make the jelly cloudy.
Add a small amount of water (just enough to prevent sticking) and bring the crushed strawberries to a gentle simmer.
Let them cook for about 10–15 minutes until soft and fully broken down.
Next:
The collected liquid is your pure strawberry juice , the base of your jelly.
Measure the extracted strawberry juice carefully. Accurate measurements are crucial for proper setting.
Return the juice to a clean pot and add:
Stir continuously over medium heat until the sugar completely dissolves.
Increase heat and bring the mixture to a rolling boil. This is the most critical stage.
Continue boiling, stirring occasionally, until the mixture thickens. The temperature should reach approximately 220°F (104°C) , known as the jelly setting point.
This process usually takes 15–25 minutes, depending on batch size.
You’ll notice:
To check if your strawberry jelly without pectin is ready:
Plate Test
Spoon Test
Once the jelly reaches the correct setting point:
If storing long-term, process the jars using a water bath canning method. Otherwise, allow them to cool and store in the refrigerator.
After cooling completely, the jelly will firm up further. The finished strawberry jelly should be:
Knowing when your strawberry jelly without pectin has reached the proper setting point is the most critical part of the process. Since there’s no commercial pectin to guarantee thickness, you must rely on visual cues, temperature, and simple kitchen tests.
If you stop cooking too early, the jelly may remain runny. If you cook it too long, it can become overly thick or caramelized. The goal is to find the perfect balance.
Here are the most reliable ways to check.
The standard setting point for fruit jelly is:
220°F (104°C) at sea level.
Use a candy or kitchen thermometer and monitor the boiling mixture carefully. Once it reaches this temperature, natural pectin, sugar, and acid combine to create the gel structure.
Tip: If you live at a higher altitude, the setting temperature may be slightly lower.
This is a classic, traditional method for testing homemade strawberry jelly.
How to do it:
If the surface wrinkles slightly and holds its shape, your jelly is ready.
If it remains liquid and flows back quickly, continue boiling for a few more minutes and test again.
Dip a metal spoon into the boiling jelly and lift it out.
Watch how the liquid falls:
This test works well once you gain a little experience with jelly-making.
You may also notice:
These are strong indicators that the jelly is approaching its setting point.
Strawberry jelly continues to firm up as it cools. It may look slightly loose while hot but will thicken properly once cooled completely.
Being patient at this stage ensures your strawberry jelly without pectin sets beautifully , smooth, glossy, and perfectly spreadable.
If your strawberry jelly without pectin turned out runny or too soft, don’t worry , this is one of the most common challenges in homemade jelly-making. Since this recipe relies on natural pectin rather than commercial powder, a few small factors can affect the final consistency.
Here are the most common reasons your strawberry jelly didn’t set properly , and how to fix them.
The most frequent cause is undercooking.
Jelly must reach 220°F (104°C) at sea level to form a proper gel structure. If the mixture didn’t boil long enough, the natural pectin, sugar, and acid didn’t fully activate.
Solution:
Return the jelly to the pot and reboil for several minutes. Test again using the plate or thermometer method.
Sugar isn’t just for sweetness , it’s essential for structure.
If you reduced the sugar too much, the jelly may struggle to thicken because:
Solution:
Stick closely to the recommended sugar-to-juice ratio for best results.
Strawberries are naturally lower in pectin compared to some other fruits. If the berries were overly ripe, they may contain even less natural pectin.
Solution:
Lemon juice increases acidity, which is necessary for natural pectin to set.
Without enough acid:
Solution:
Never skip the lemon juice when making strawberry jelly without pectin.
Sometimes the jelly appears loose while hot but firms up after cooling.
Homemade strawberry jelly continues to set as it cools completely , sometimes taking 12–24 hours for full firmness.
Solution:
Allow jars to sit undisturbed at room temperature before assuming it failed.
Yes. Simply:
In most cases, a short reboil solves the issue.
Making strawberry jelly without pectin is simple, but small details can make a big difference in texture, clarity, and flavor. These practical tips will help you achieve a smooth, glossy, and perfectly set jelly every time.
The best strawberries for jelly are:
Overripe strawberries contain less natural pectin, which can affect the setting process. Slightly underripe berries actually contain more natural pectin and can improve consistency.
Precision matters in jelly-making.
Always:
Guessing measurements can lead to runny or overly thick jelly.
Allow the jelly to reach a full rolling boil before timing it. The mixture must cook at high heat to activate natural pectin properly.
However, avoid overcooking , too much heat can result in:
Monitor closely once it thickens.
Foam naturally forms during boiling. Skim it off gently using a spoon.
This helps:
Clear, glossy strawberry jelly is a sign of proper technique.
When straining strawberry juice, let it drip naturally.
Pressing or squeezing the pulp may:
Patience ensures a beautiful, transparent finish.
Always perform the:
Once poured into jars, it’s harder to correct consistency. Testing ensures confidence before sealing.
After pouring into sterilized jars:
Disturbing jars too early can interfere with proper setting.
Proper storage is key to keeping your strawberry jelly without pectin fresh, flavorful, and safe to eat. Since this jelly relies on natural pectin rather than commercial stabilizers, handling and storage are especially important.
Here’s a complete guide for storing your homemade jelly.
If you’ve processed your jelly jars in a water bath canning method, they can be stored at room temperature:
Tip: Always check the seal before using. A properly sealed jar will have a concave lid and will not pop when pressed.
For small batches or jars that were not water-bath processed, refrigeration is safest:
Refrigeration is perfect for recipes you plan to use quickly or for beginners who prefer not to can.
Strawberry jelly freezes well if you want long-term storage without canning:
Frozen jelly can last up to 6–8 months. Thaw in the refrigerator before use.
Many home cooks and readers often wonder about the difference between strawberry jelly and strawberry jam. While both are fruit spreads, they vary in texture, preparation, and use , understanding the distinction can help you choose the right one for your recipes.
Jam usually has more texture, whereas jelly emphasizes smoothness and clarity.
Yes! You can make strawberry jelly without pectin using frozen strawberries, and it’s a convenient way to enjoy homemade jelly year-round, even when fresh strawberries are out of season. However, there are a few tips to ensure success.
Frozen strawberries should be fully thawed before cooking. This allows you to:
Place frozen strawberries in a colander to drain or let them sit in the refrigerator for a few hours.
Frozen strawberries tend to release more water than fresh ones. As a result:
Monitor thickness carefully using the plate test or spoon test.
While frozen strawberries work well, fresh strawberries provide:
Tip: If using frozen berries, add a few drops of lemon juice to enhance acidity and help natural pectin set the jelly.
Whether fresh or frozen, you still need:
No pectin is required , the technique remains the same, but frozen strawberries may require extra patience.
Once you’ve made your strawberry jelly without pectin, the possibilities for enjoying it are endless. From breakfast spreads to dessert toppings, strawberry jelly adds flavor, color, and a touch of sweetness to many dishes. Here are some creative and practical ways to serve it.