Physical Address
304 North Cardinal St.
Dorchester Center, MA 02124
Physical Address
304 North Cardinal St.
Dorchester Center, MA 02124
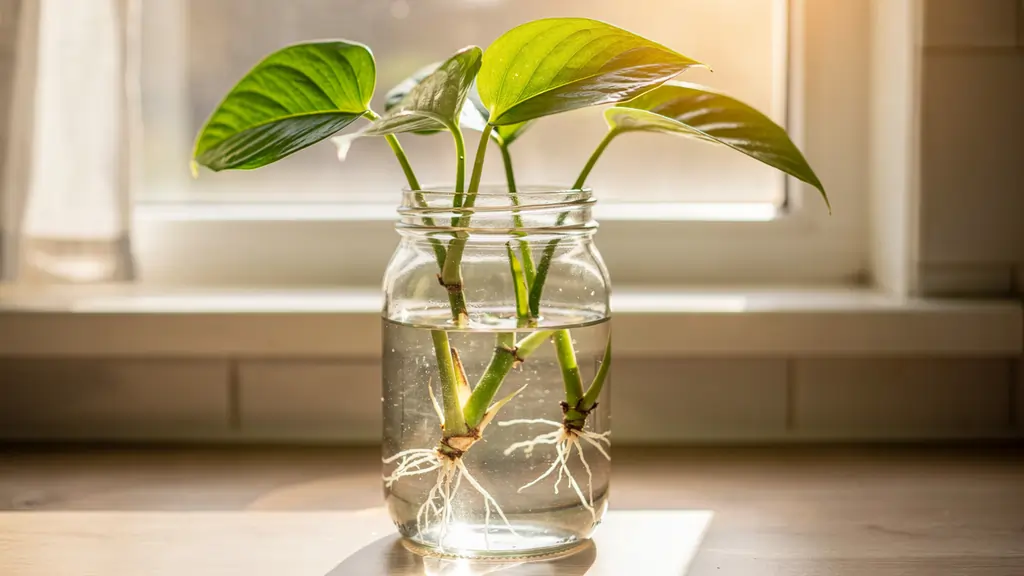
If you have a pothos plant, you already have an unlimited supply of new pothos plants. You just have not used it yet.
Propagating pothos in water is one of the easiest and most satisfying things a beginner plant owner can do. It costs nothing. It requires no special tools, no rooting hormone, and no experience. You snip a healthy stem, drop it in a glass of water, place it near a window — and then watch what happens over the next few weeks.This guide covers the complete process from start to finish, including a real week-by-week timeline of what you will actually see, the most common mistakes that stop cuttings from rooting, and the signs that tell you it is time to move your new plant from water into soil. If you are new to growing plants indoors, you might also want to read our guide on why ZZ plants turn yellow — another beginner-friendly houseplant that teaches you a lot about how plants communicate.
There are several good reasons to propagate your pothos — and more of them are practical than you might think.
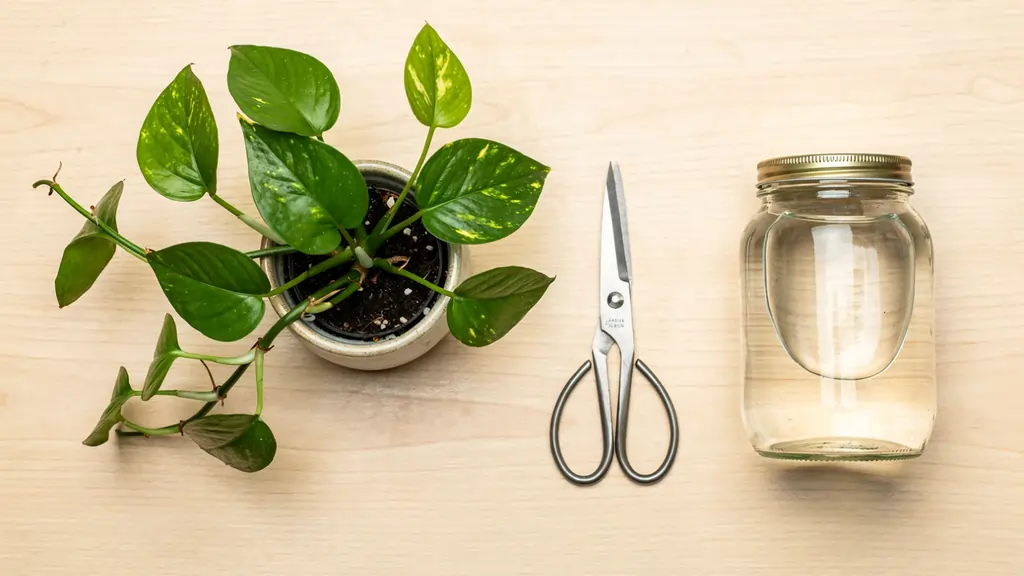
The equipment list for pothos water propagation is shorter than almost any other plant project:
That is the entire list. No rooting hormone is needed — pothos naturally produce auxins (their own root-promoting hormones) in quantities high enough to root reliably without any help.
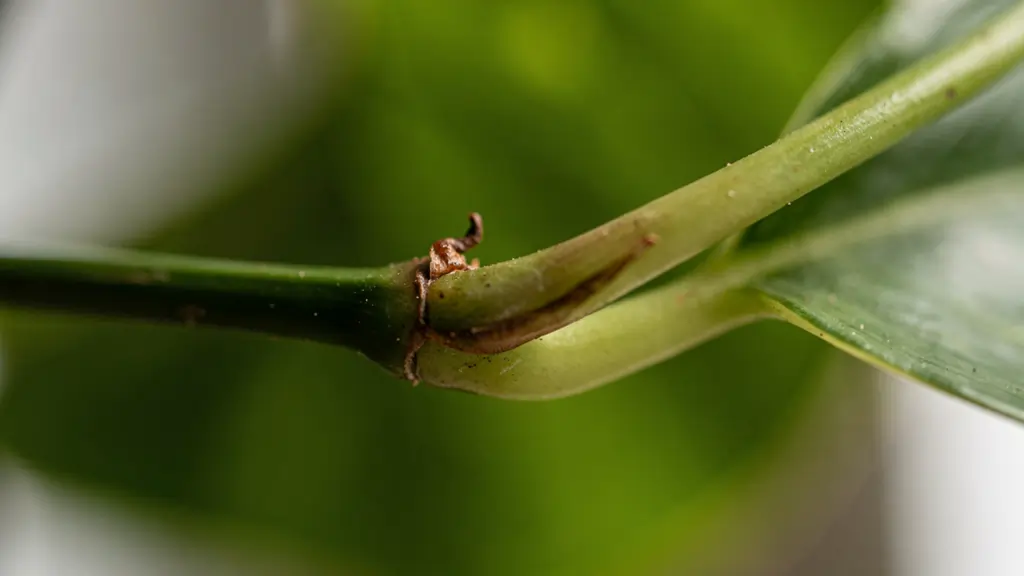
The node is the most important thing to understand about pothos propagation. It is the small, brownish bump on the stem where a leaf connects — and it is the only point from which new roots will grow. A cutting without a node will never produce roots, no matter how long you leave it in water.
TIP: Take three or four cuttings at once.Even with ideal conditions, not every cutting will root. Taking multiple cuttings at the same time means a higher chance of success and a fuller plant when you eventually pot them together. Snipping a few extra takes 30 seconds and costs nothing.
Fill your glass or jar with room-temperature tap water. Avoid using softened water from a home water softener — these systems replace calcium and magnesium with sodium ions, which are toxic to plants at the concentrations found in softened water. Regular tap water or filtered water works perfectly.
Place the cuttings in the water so that the node is fully submerged and all leaves sit above the waterline. If the cutting is too tall and keeps falling over, choose a narrower-necked jar or vase that can support the stem upright.
Position the jar in a spot with bright indirect light — near a window is ideal, but not on a south-facing windowsill where direct afternoon sun will hit it. Direct sun heats the water, encourages algae growth, and can stress the cutting before it has established any roots. A kitchen ledge or bathroom shelf near a window is often perfect.
This is the step most people skip, and it is one of the main reasons cuttings fail to root or rot. Water sitting undisturbed loses its dissolved oxygen content over time — and roots need oxygen to develop. Algae also grows in stagnant water and can coat the developing roots, slowing growth.
Change the water every five to seven days. When you do, rinse the jar, add fresh room-temperature tap water, and gently return the cuttings. Handle the cuttings carefully once roots begin to form — the early roots are fragile and snap easily.
What about algae in the jar?If green algae is growing on the inside of the jar or the roots, it is not harmful to the plant — but it does compete for oxygen and nutrients. Switching to a dark or opaque container eliminates algae almost entirely, since algae needs light to grow. If you like the look of a clear jar, simply change the water more frequently and give the jar a light rinse each time.
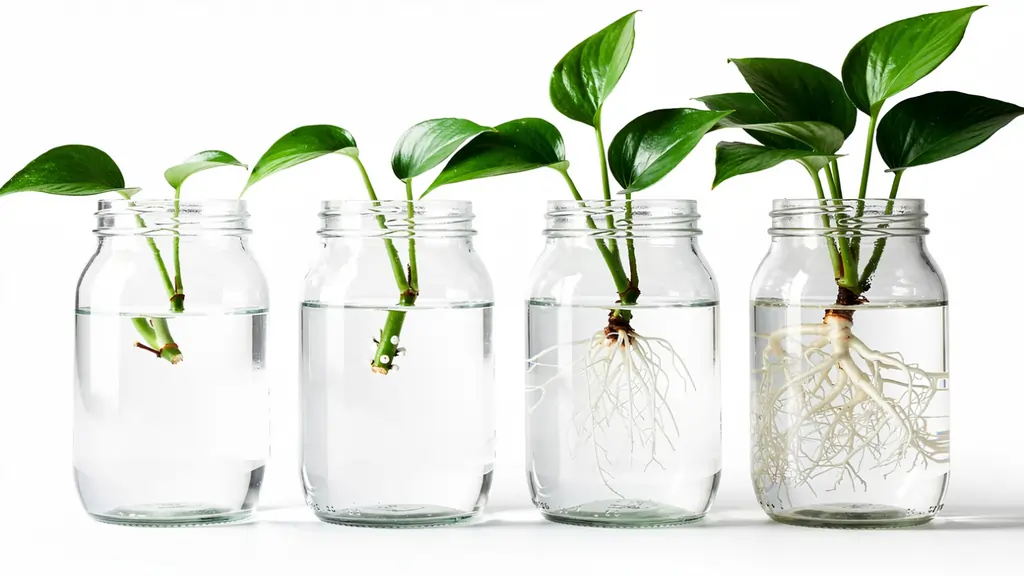
Patience is the most important ingredient in pothos propagation. Here is an honest, week-by-week guide to what you will see and what it means:
| Timeframe | What you will see | What it means |
| Days 1–3 | Nothing visible. Cutting looks the same as when you placed it. | Normal. The cutting is recovering from the snip and beginning to activate root buds internally. |
| Days 4–7 | Tiny white nubs appearing at the node, just below the waterline. | This is the first sign of root initiation. The nubs are root primordia — the very beginning of your new root system. |
| Week 2 | Nubs extending into small white threads, 3–10mm long. | Roots are actively growing. Keep the water fresh and do not disturb the jar. |
| Week 3 | Roots 1–2 inches long, visibly white and thread-like, multiple roots forming. | Healthy root development. The cutting is drawing moisture and beginning to establish itself. |
| Week 4–6 | Roots 2–3 inches long, starting to branch. Multiple root threads visible. | The cutting is now ready — or nearly ready — to transfer to soil. |
| After 6 weeks | Roots thick, multi-branched, potentially tangled in the jar. | Still fine to leave in water, but transfer to soil soon. Very long water-grown roots can struggle to adapt to soil. |
Is it slower than this timeline? Here is why:
Season matters. Cuttings taken in spring and summer root significantly faster because the plant is in active growth mode. Winter cuttings can take twice as long — this is completely normal. Cold rooms also slow rooting. If your cutting is still green and the node is firm, it is alive and working. Give it more time.
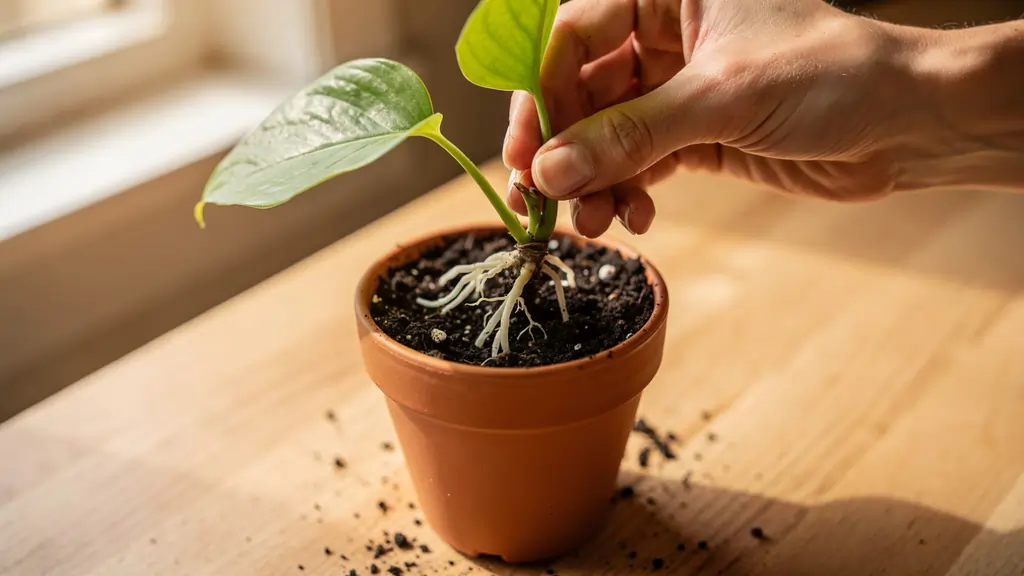
The best time to transfer your pothos cutting from water to soil is when the roots are between two and three inches long. This is long enough for the roots to anchor themselves in potting mix, but short enough that they have not become so adapted to the water environment that soil feels like a shock.
Roots that develop in water are structurally different from roots that develop in soil. Water-grown roots are thinner and more delicate, with fewer root hairs. If you leave the cutting in water for too long — beyond eight to ten weeks — the roots become very long and waterlogged, and the transition to soil becomes harder. The plant can struggle to adapt and may droop or drop leaves for several weeks after potting.
Pothos is the most forgiving propagation subject there is, but a few specific mistakes consistently prevent rooting. If your cutting has been in water for three weeks or more with no sign of roots, check through these:
| Problem | Most likely cause | Fix |
| No roots after 3+ weeks | No node in the water — cutting placed above the node or cut above rather than below | Check the submerged section. The node (brown bump) must be under the waterline. Re-cut if necessary. |
| Cutting rotting at the stem | Leaves left in the water rotting, or water not being changed | Remove all leaves from the submerged section. Change water every 5–7 days minimum. |
| Roots forming very slowly | Low light, cold room, or cutting taken in winter | Move to a brighter spot. Ensure room temperature is above 65°F / 18°C. Wait — winter propagation takes longer. |
| Roots formed but plant won’t grow after potting | Roots too long before transfer (over-adapted to water) | Re-cut to 2 inches if extremely long. Pot in moist (not wet) soil and keep in high indirect light. |
| Water turning brown or smelly | Bacterial growth from a rotting leaf or stem | Remove all cuttings, clean the jar thoroughly, replace all water, and check each cutting for soft spots. |
| Green algae coating the roots | Normal algae growth in clear jar with light | Switch to a dark jar, or change water more frequently. Algae is not harmful but slows root development. |
Yes — and many people choose to do exactly this.
Pothos is one of the few houseplants that can live indefinitely in water without soil. The roots adapt to the aquatic environment and the plant continues to grow, trailing and producing new leaves just as it would in a pot.
If you want to keep your pothos in water permanently:
Change the water every one to two weeks. Add a very small amount of diluted liquid fertiliser (a few drops of standard houseplant feed in the water) once a month to supply nutrients the plant would otherwise get from soil. Keep the container clean to prevent bacterial build-up, and place in bright indirect light.
The aesthetic appeal is real — a clear vase with trailing pothos roots is a popular and striking home display.
In warm conditions with good light, the first tiny root nubs appear within four to seven days, and roots reach the two-inch transferable length in three to four weeks. In winter or in cooler, dimmer rooms, the same process can take six to eight weeks. If the cutting is still green and firm, it is still working — patience is genuinely the main ingredient.
No. Pothos produces its own root-stimulating auxins in high concentrations and roots reliably without any additives. Rooting hormone is more useful for soil propagation of more reluctant plants. For water propagation of pothos, it makes no meaningful difference.
Every five to seven days. Fresh water replenishes the dissolved oxygen levels that roots need to develop. Changing water also prevents bacterial growth and stops algae from coating the delicate new roots.
Transfer when the roots are two to three inches long. Earlier than this and the roots have not developed enough to anchor in soil. Later than this and the water-adapted roots may struggle to adjust to soil conditions. The two-inch mark is the sweet spot.
No. A node is the only part of the pothos stem that can produce roots. A cutting with only a leaf and stem but no node will stay green for weeks as the stem slowly uses stored water and nutrients — but it will never root and will eventually die. Always make sure at least one node is fully submerged in the water.
The most common causes are leaves left below the waterline (they rot and contaminate the water), water that is not being changed frequently enough, or stems that were cut and left to dry before being placed in water. For tropical leafy plants like pothos, cuttings should go into water immediately after cutting — do not let them air-dry. Change the water every five to seven days and remove any leaves that sit at or below the waterline.
Propagating pothos in water is one of those projects that looks impressive to anyone who sees it, and feels like a real skill — even though the plant is doing almost all of the work. Your job is to take the cutting correctly, keep the water fresh, and stay out of the way.
Once you have done this once and watched those first white root threads emerge from the node, you will want to do it with every plant you own. That is a very normal reaction.
Now that your gardening cluster is growing, keep reading: our guide on snake plant care in winter covers another ultra-low-maintenance houseplant that thrives on the same philosophy — and our indoor herb garden guide is the next step if you want to grow something you can actually eat.